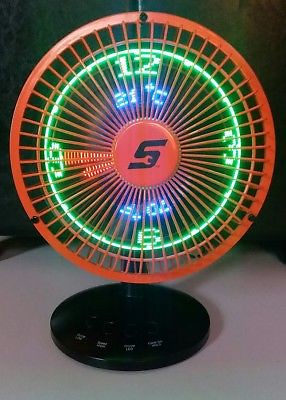
It’s the dog days of summer that’s for sure. A few days it’s been under 100 but those are usually when the monsoons blow through. High humidity and the possibility of an inch or so of rain in an hour. Then the sun comes out. In addition to the porta-cool and a couple of fans circulating hot air out of the garage (insert joke about post here…) I picked up a magnetic fan/clock/thermometer to give me some localized airflow.
Stock photo, it wasn’t 70 in the shop today. It was about 108. But it’s a dry heat…
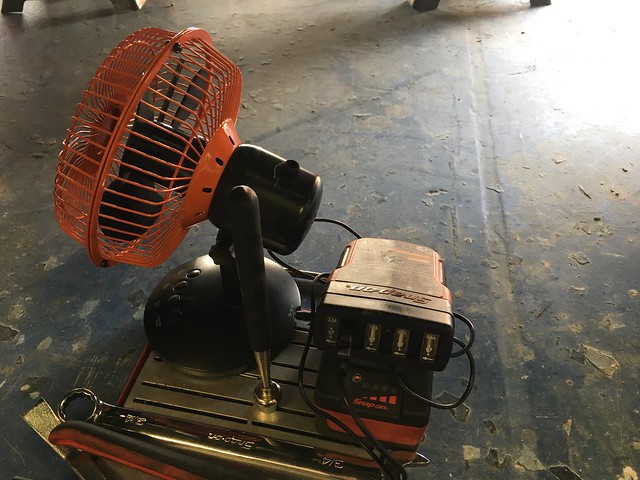
In action with my USB battery pack. It can run off an AC adapter but I’m no fan of power cords when I’m down under the car especially when I’m rolling in and out on the creeper.
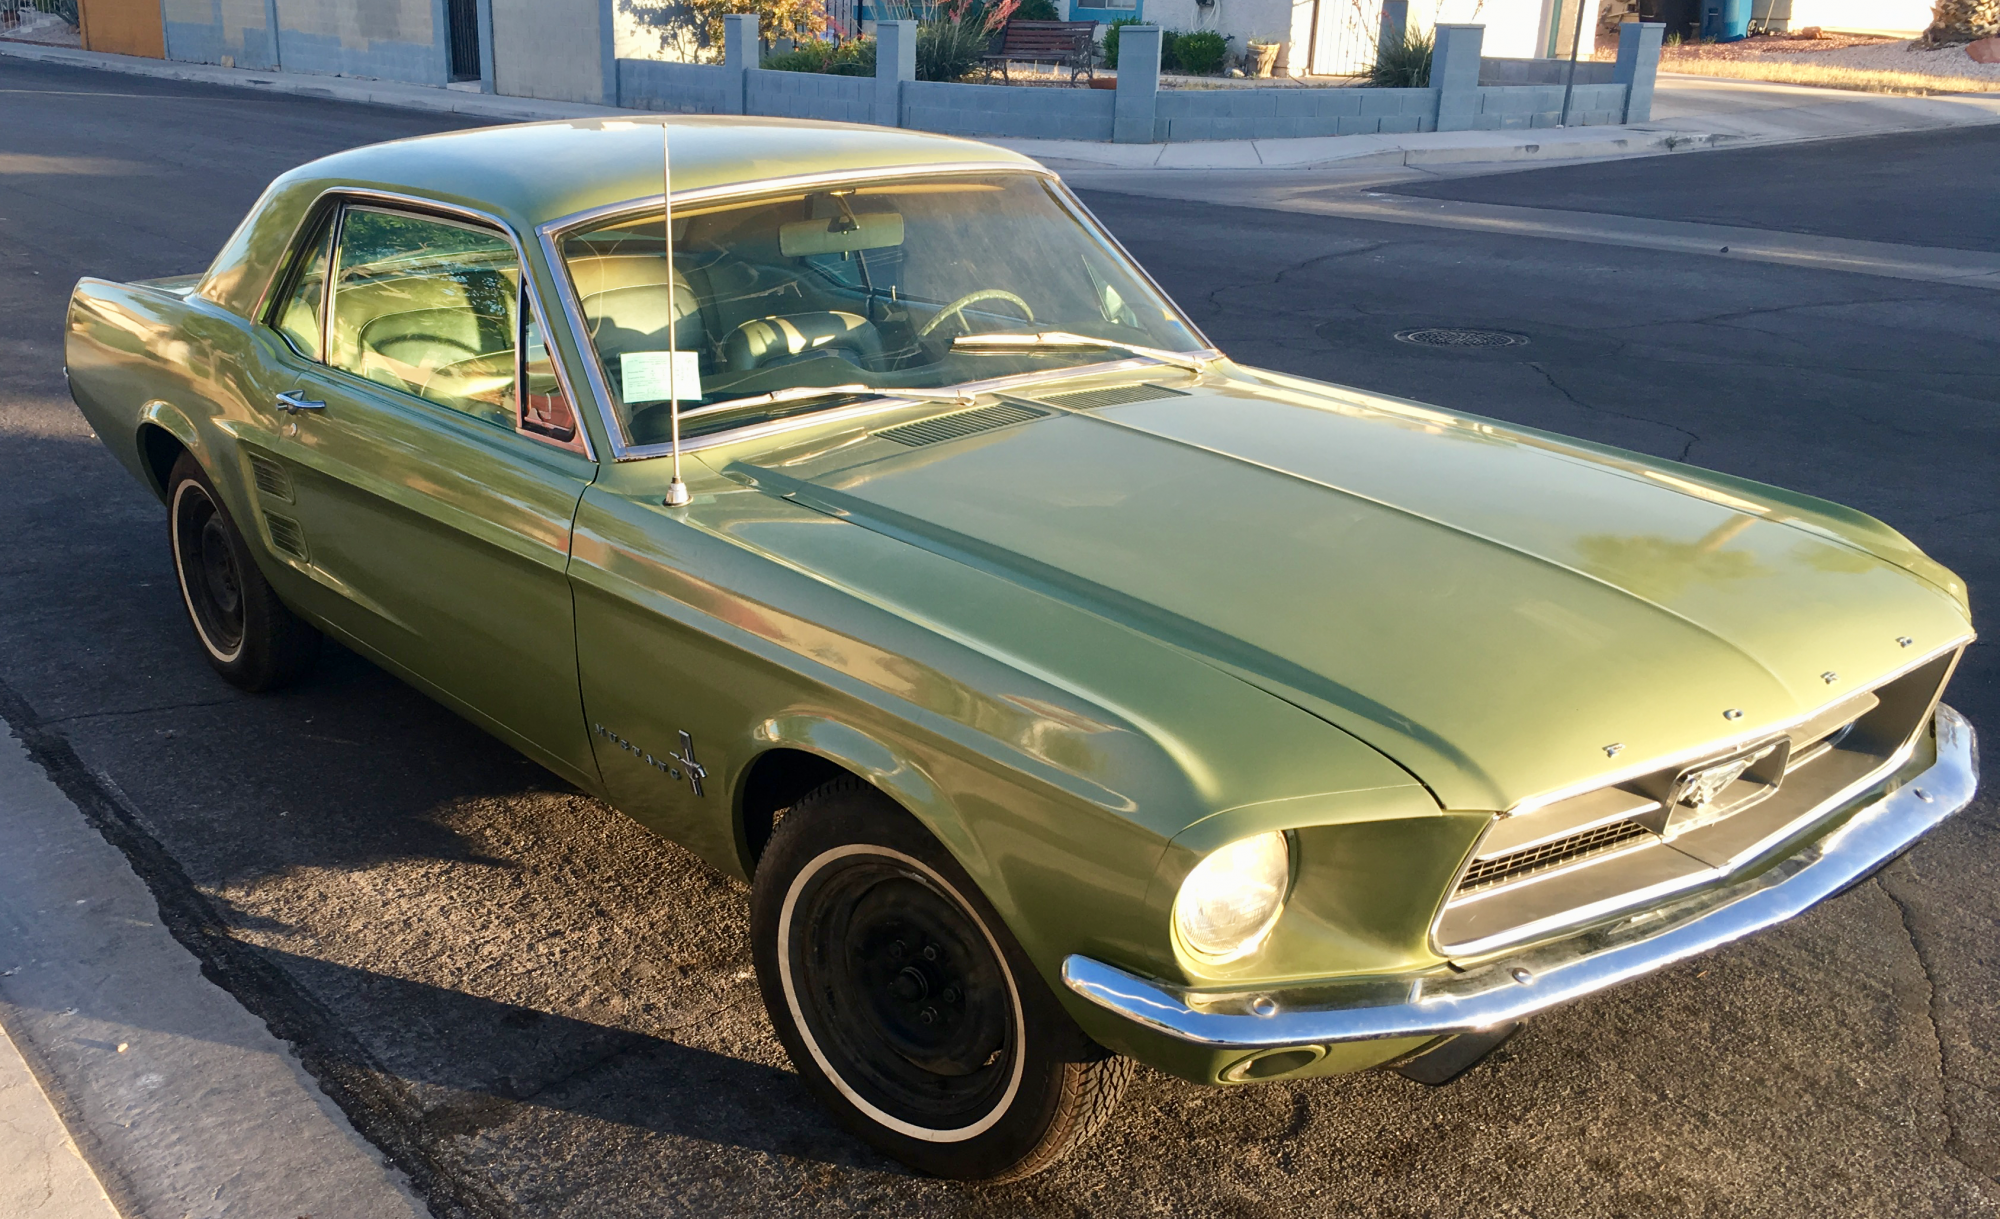
Back in car town there is progress. I’m back on the road after a mechanical refurb on the front suspension. I was going to fully restore the suspension members including new paint/powder coat and hardware. I chose to hold off on the full restore until I dive into the engine bay. I know, I know they didn’t powder coat them back then but for this I want some durability for suspension members. I can match it pretty well to what was used originally.
There is still some weirdness on the right. The damaged cam bolt (or as some of you call them “eccentric bolts”) isn’t able to be repaired so it won’t hold camber. Even with that the ride is night and day in terms of the death rattle. It’s gone. Of course the steering tracking is all whack with full positive camber. The left side turned out well.
Here’s what an unusably damaged cam bolt looks like. The damage came from the hex head separating from the cam on that end of the bolt. I tried to weld it back and that held until it got a load on it. It wouldn’t have mattered if the head held as the bolt threads and cam washer on the nut end were trashed. I ordered AMK replacements from NPD. Were this part to fail under load it would be like Egon said to Venkman, “it would be bad”.
Bolt head and washer broken off.
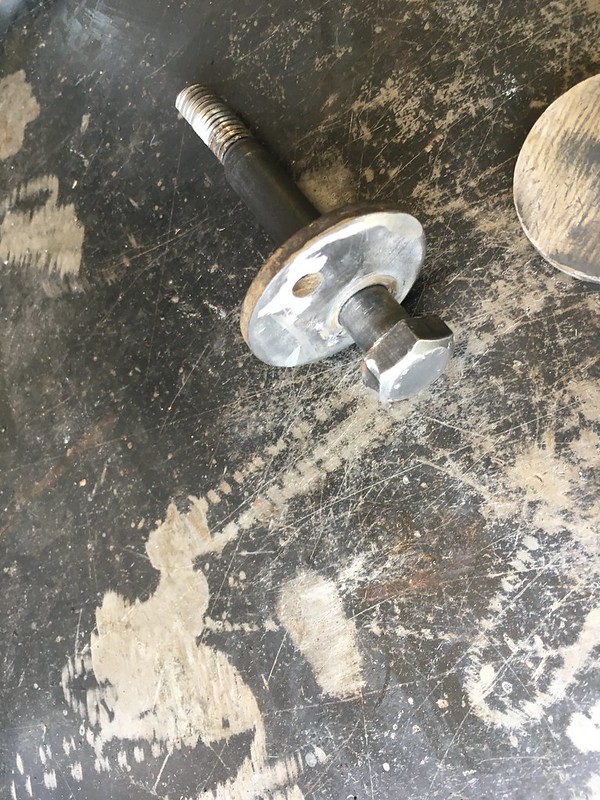
The “D” in this washer needs to be more pronounced. It should lock around the flat of the bolt and provide cam action when turned. Its worn to the point where now it’s lost its cam effect just as the front has.
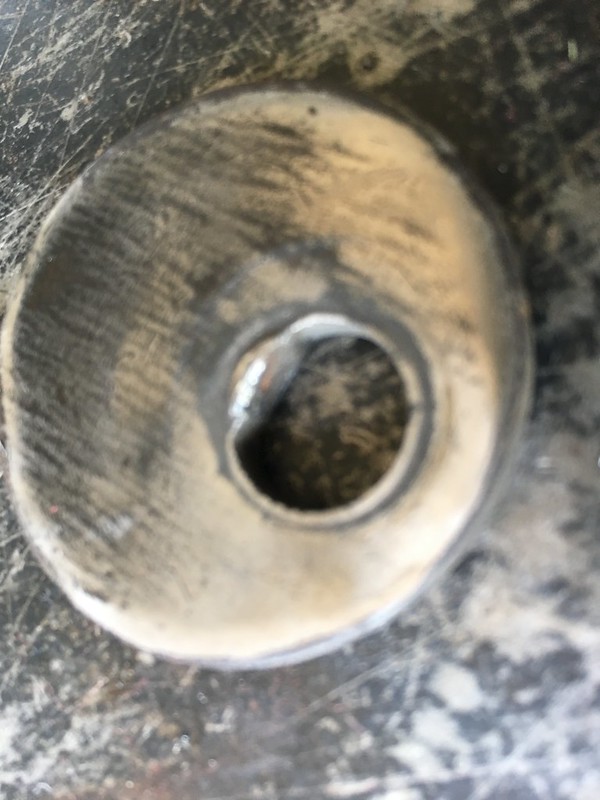
That washer is damaged because the threads around it turned and dug into it. Likely the first time the washer on the head side separated. If you remember from a previous post I noticed something askew in the geometry and it turned out to be that damaged bolt assembly wedged all caddywhompus in the mount. The first washer separates which causes the bolt to unload into the washer on the other end with the threads digging into the “D” and now all our camber on that side is tanked. Worse than tanked, it’s gone all positive.

I’m not able to get the car high enough, only just under 30″ so it’s a bit difficult to get me fully under and be able to see if the the mount points on the tub are twisted. Once I get the cam bolts replaced, a rough alignment on it and be sure I’m not going to overheat on the way over I’ll go to the DIY garage place that rents lifts and shop time. It’s a deal, $35/hr with tools if you need ’em. There are a lot of apartment dwellers without garages and some HOAs won’t allow car work even if you are the homeowner and in your own garage. I’ll be able to get it properly in the air and see if I’ve got some bent mounts. You just need string line, squares, tape measure and a laser level to see if it’s out of whack.
Once the cam bolt proved unusable I have a trick from the track to at least get a rough setting on it with a standard bolt (or in this case reusing the damaged cam bolt). Using a drift pin punch you place it through the holes where the bolt would normally go. On this I used what’s technically a “lady foot” or rolling pry bar. It is basically a drift punch that has a pry hook on one end and a punch on the other. I use the terms interchangeably though one is different than the other. They are go-to tools to align things like suspension components.
Once I get the punch through the holes I then use a regular pry bar to move the entire lower arm to the outmost setting possible.
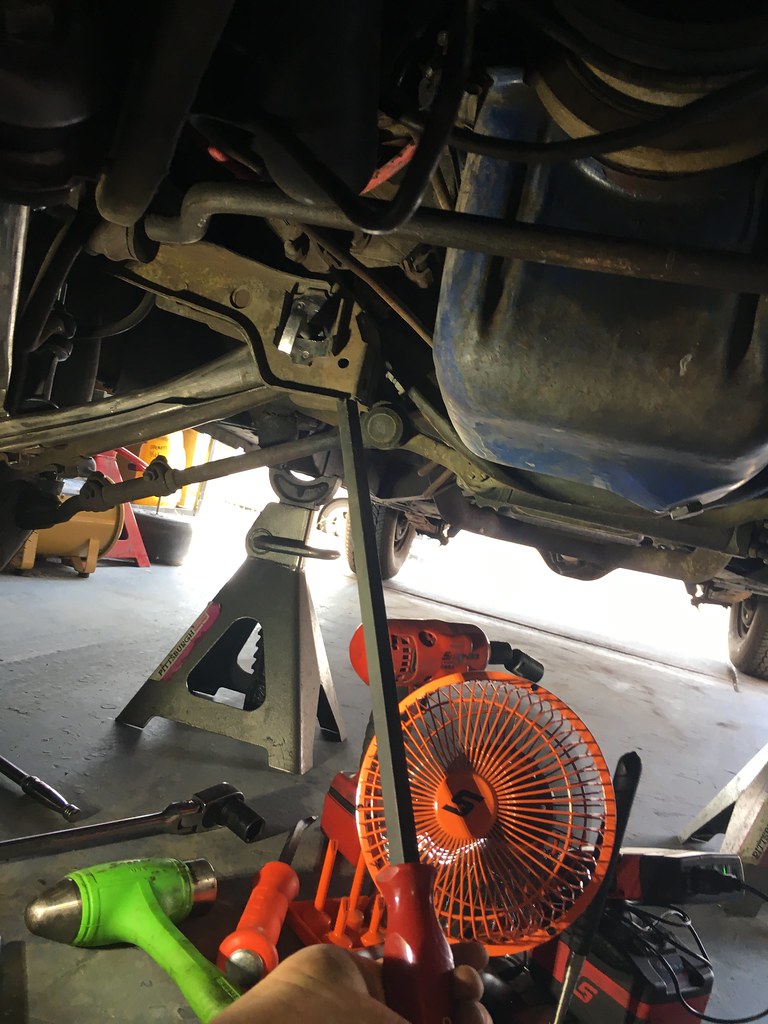
With the arm bolt hole in the outmost setting possible there is some mechanic’s yoga involved but while you hold it you push the punch out as you feed the bolt through the hole. That way, at least in theory, the through hole and bracket stay aligned. Most of the time. Don’t worry about torquing this fastener. This is a quickie get it on the track fix. Run the biggest gun you have until it’s dead nuts tight. Hammer on it. Without the cam action it’s going to be a biznatch to get it to hold into position. Sometimes it works. This wasn’t one of those times. Once that side got a load on it failed back to full positive. Plus side is until I get those cam bolts I can at least work on my cooling and carb issues.
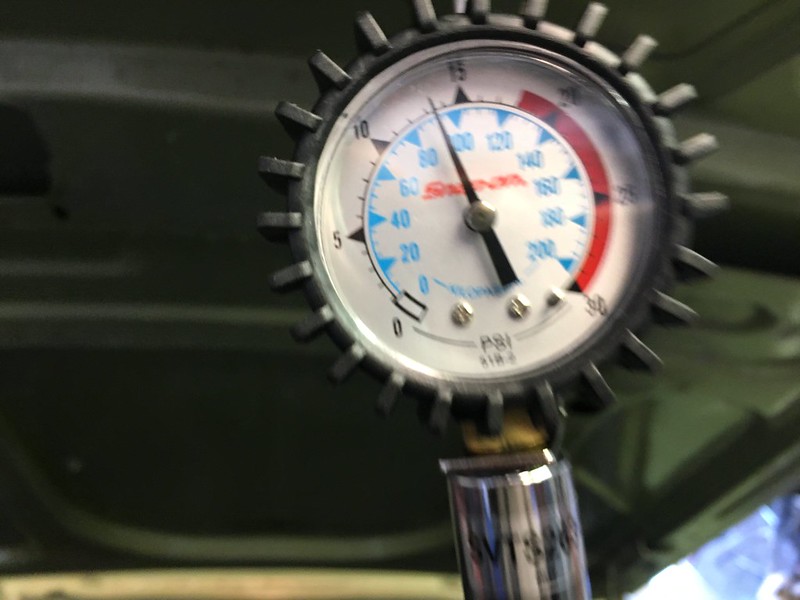
As for the cooling I got a new cap and did a pressure test. I got the Motorcraft replacement. Even looks period correct. I went whole hog (or full boar if you prefer) and got a new, in the box tool truck brand tester for about half price on ebay. It was only about 30% more than getting one at HF and cheaper or about the same as getting an OTC or other name brand from Tooltopia. The local auto parts joints were useless as teats on a bull. They had nothing new and the loan was a couple hundred deposit.

It passed with flying colors. I started at 13 1/2 and ended about an hour later at 13. No leaks, no runs, no errors.
The next bit of cooling is to install a real temp gauge and sender. I got a new heater hose return fitting and was going to mod that but it looks like it’s going to be too small and the sender end will impede flow. I hope the current fitting makes it out of the manifold without disintegrating. It’s rusty hammered and the hose fitting end is all chewed up. The nightmare is grabbing it with pliers (the cool Swedish ones) and having it crumble. Regardless of using the new one as a sender fitting, the old one has to go.
On the data systems we either used two conductor thermocouples or just took the info from the CAN bus on the ECU. With a traditional automotive sender the ground is via the sender body to whatever metal it’s screwed into. With the data system sensors you can splice a fitting tee into the hose path and call it good. The ground comes from the two conductor sensor. This is common in Spec Miata for those of us that bypass the heater core. In order to use some sort of fitting tee in the hose path (because the tee wouldn’t be grounded) I’d need to cobble a ground back to either the block or some ground point. My thinking is to make a fitting from race plumbing parts that replaces the stock return fitting with something that will allow better flow around sender end.
The fuel supply issues are getting sorted. I’ve got a new dashpot on the way. This one has gone from minimal compliance on the button and spring to a fully dead spring with a button that doesn’t move. I did seriously look into a Sniper EFI two barrel. I like it, price isn’t bad. But the install is more than just me rebuilding a carb right now. In tank fuel pump, running a return, wiring a shutoff relay and getting ignition switched voltage to the ECU is more than I want to do right now. I’ve done it before. I just don’t want to do it right now.
While the dashpot will help a more pressing issue is that with every start it’s running more pig rich. You can smell it both in the engine bay and out the tailpipe. It won’t fully tune down either. It’s probably something a rebuild will fix. I’m hoping is something like a float or float adjustment. I’ll get a kit from Mike’s Carburetor Parts and see where that takes me.